📚 Install a Web3 Wallet & get gas
Introduction
Soooo, if you're reading this you're probably pretty new to Web3 and haven't dug too deep down the rabbit hole...yet. This playbook aims to help you make a start to your ever expanding Web3 journey. Oh and Welcome to the new frontier! 🍻
If you want to do anything in Web3, you'll need a wallet and you'll also want some gas.
WTF is a Web3 wallet!?
Web3 wallets are essential to access the Web3 space, DeFi, and crypto. You might have stumbled upon the words ”Web3” or ”crypto wallet”. If you’re new to the space, let us first answer the question ”what is a Web3 wallet?”.
Web3 wallets are basically digital wallets; they have the ability to store digital assets and allow you to interact with those assets. A Web3 wallet is also the gateway to the crypto realm, allowing you to interact with dApps on many different blockchains. They can also be your login and identity in Web3. Pretty amazing really!
Read more about them on this post
WTF is Gas!?
Gas is what fuels blockchains...it is a cryptocurrency token (usually the native token to any given blockchain) which is used to pay for transaction fees - a bit like how banks charge you to transfer funds or a credit card company charges users or merchants to use their services, except with blockchains, the recipients of the fees aren't corporations or bankers but people like you and I who commit to securing the network by either 'proof of stake' or 'proof of work' - more info on these here.
Things you'll need
To follow along, you will want the following:
- Desktop or Mobile device
- Web browser (ideally Brave or Chrome) - Firefox can use MetaMask but the extension is not an official release (use at your own risk)
- Internet connection
- A pen, some paper and a good hiding place
- Twitter account (for claiming free gas money)
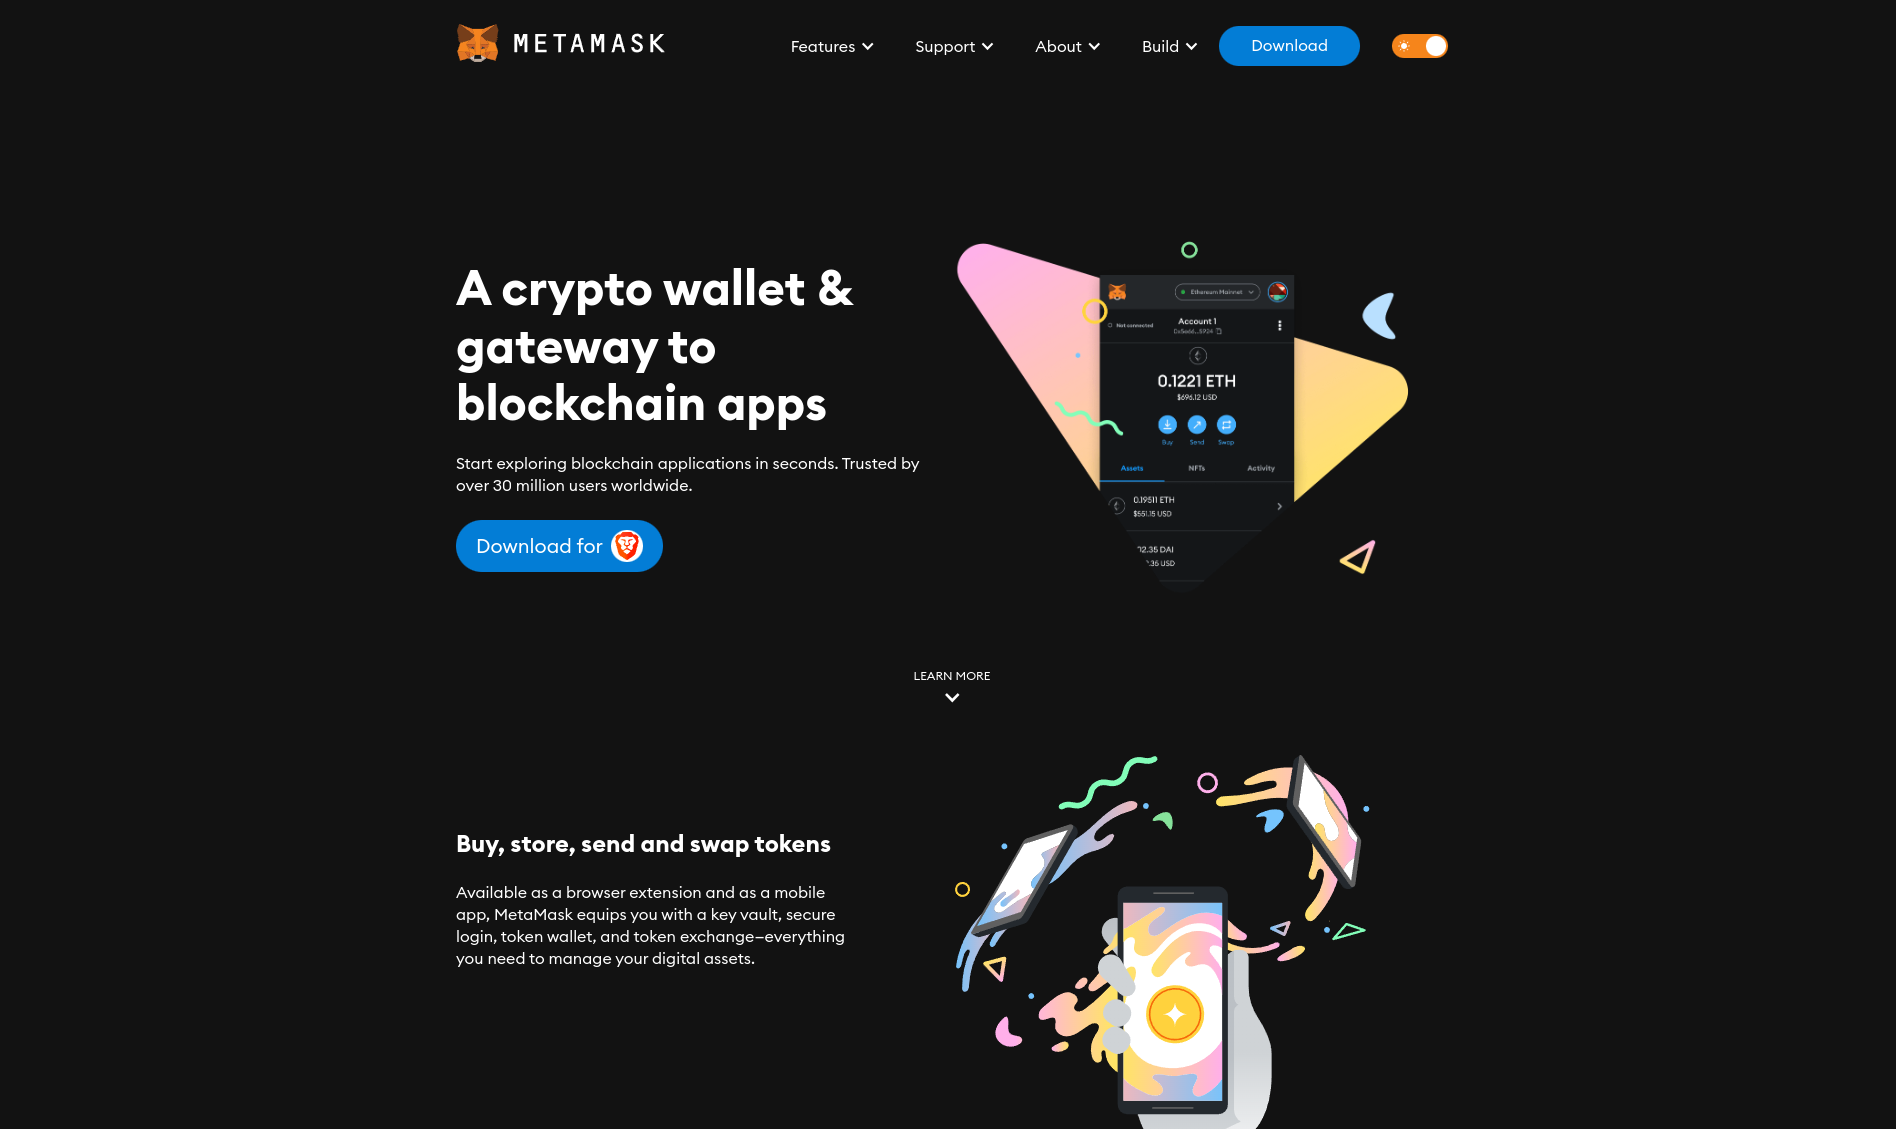
There are a bunch of web3 wallets to chose from but the easiest and most common place to start is Metamask - while it is not the best, it has been the defacto wallet for quite a while and as of writing, is probably the best supported wallet in Web3.
1. Download & Install MetaMask
Head to metamask.io and install the browser extension - make absolutely certain that the URL in your browser is what you expect (ie. https://metamask.io) - this goes for every single Web3 website & dApp you visit from this day forwards. Don't trust, verify!
ℹ️ Quick Tip: To make an extension visible and accessible on the browser bar, click on the grey puzzle icon to show your extensions. Then, next to the MetaMask extension, click the pin icon to pin it to your browser.
2. Create a wallet
Once you've got the browser extension installed, you'll want to create a new wallet.
Click on the Fox icon in your toolbar and a new tab will open as seen below:

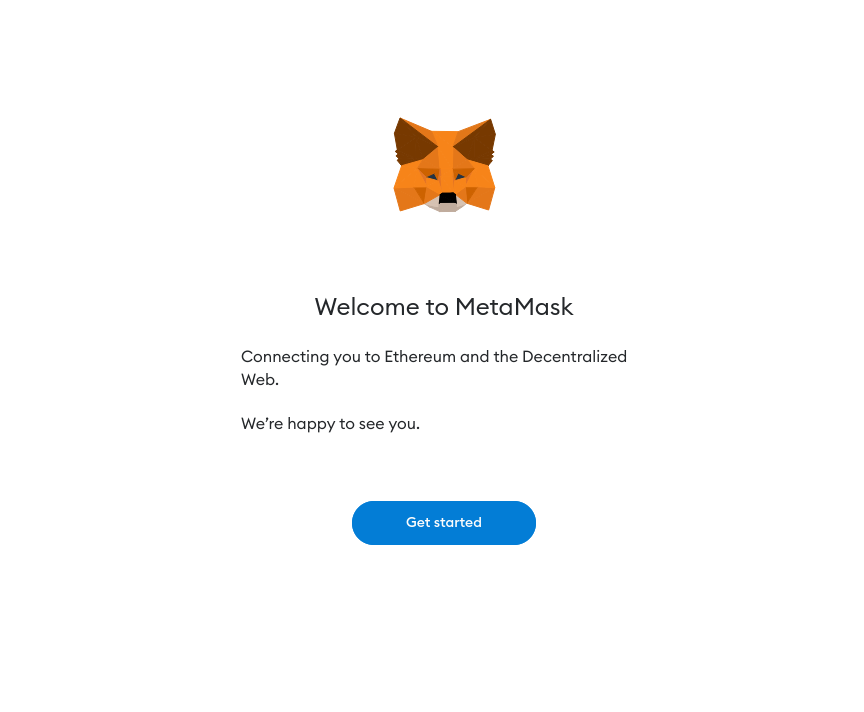
Click "Get started"
Accept or decline the following data privacy notice - your choice does not affect how the app functions

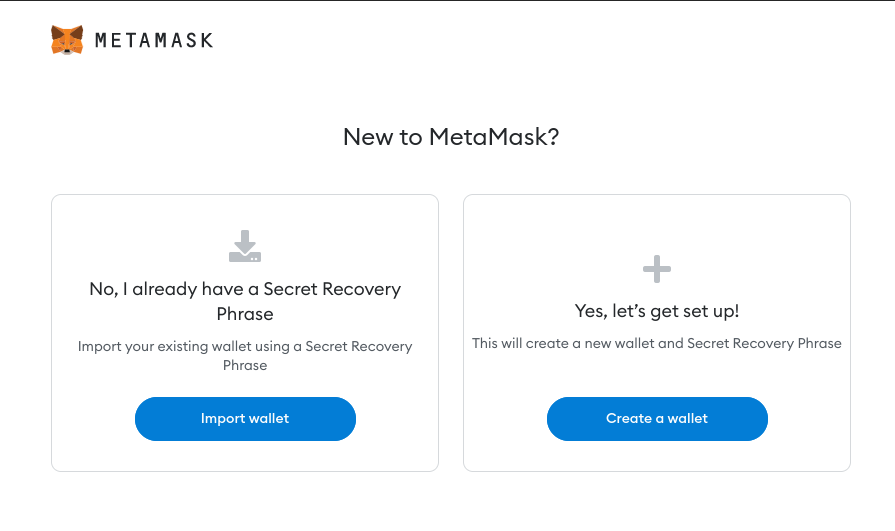
Next and as you're here reading this playbook, we assume you want to set up a fresh wallet. Click "Create a wallet".
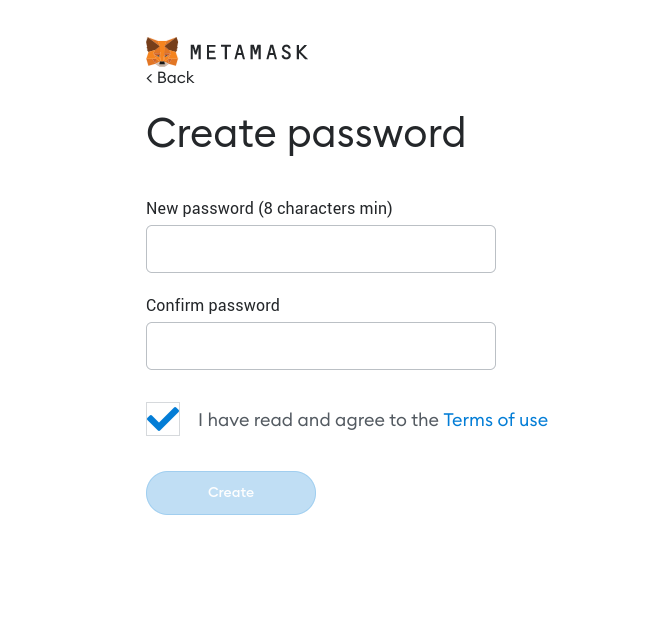
Before creating a wallet, we need to secure MetaMask with a password. Coose one that is more than 8 characters long. For more info on Metamask & passwords, read this help article
Make sure to watch, read & understand the info on the next page
🚨 The following is one of the most important bits of information you need to understand when entering Web3 or dealing with cryptocurrency and can not be understated. 👇
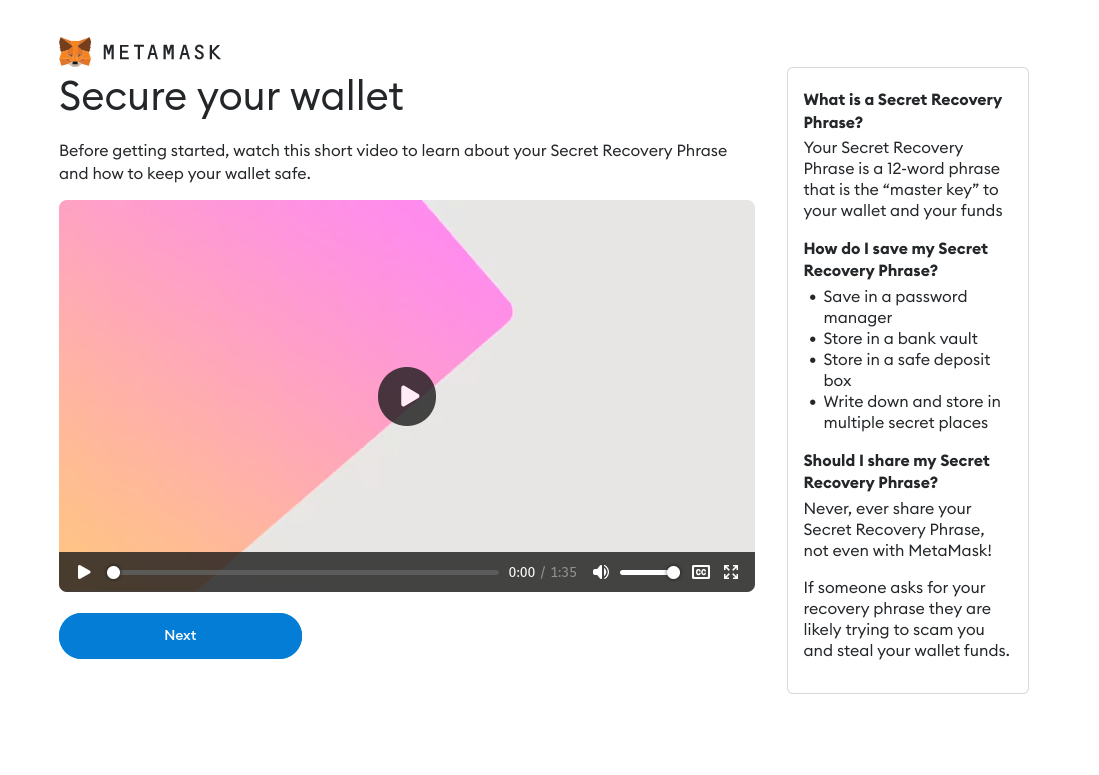
MetaMask recommend saving your seed phrase to a password manager; I do not - the only medium a seed phrase should be stored on is paper...or metal plate if you have the means. Then hide it somewhere safe and never share the phrase or location with anyone. Anyone asking for your phrase is 100% trying to scam you. Don't lose this phrase either or you will lose your funds.
Now you want to reveal your seed phrase so you can back it up! Make sure no-one can see your screen when you do this.
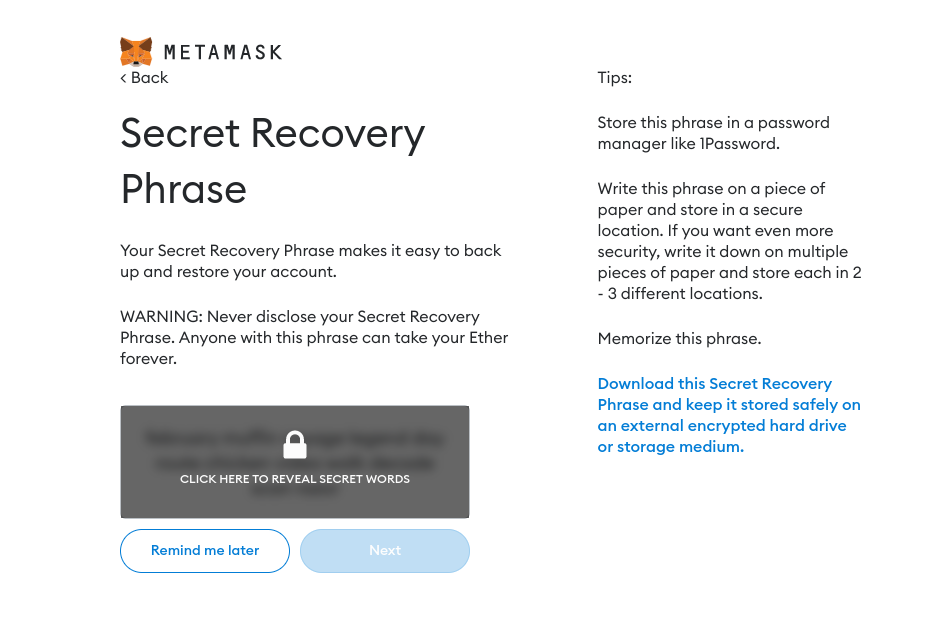
⚠️ Remember step 5! ⚠️ Do not copy/paste the phrase. Do not take a photo of it. Only write it onto a slip of paper and ensure to keep it in a safe place.
Once you've copied the words down, click 'Next' and confirm the phrase on the next page by selecting the words in the correct order.
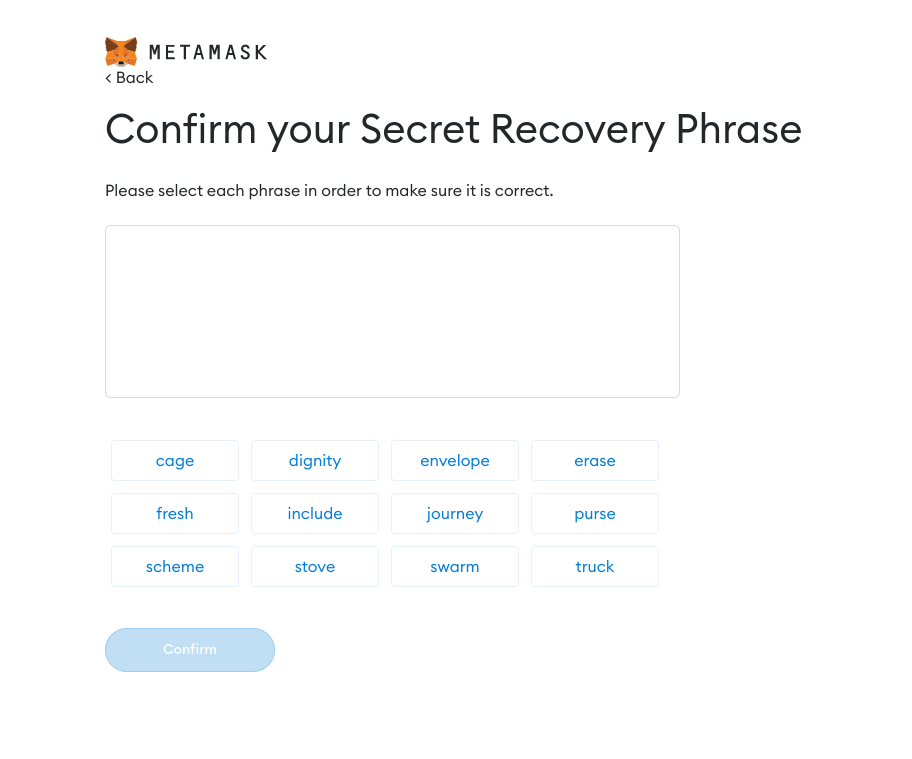
Click 'Confirm' and you should be good to go! You can always click 'Back' if you need to check the words again.
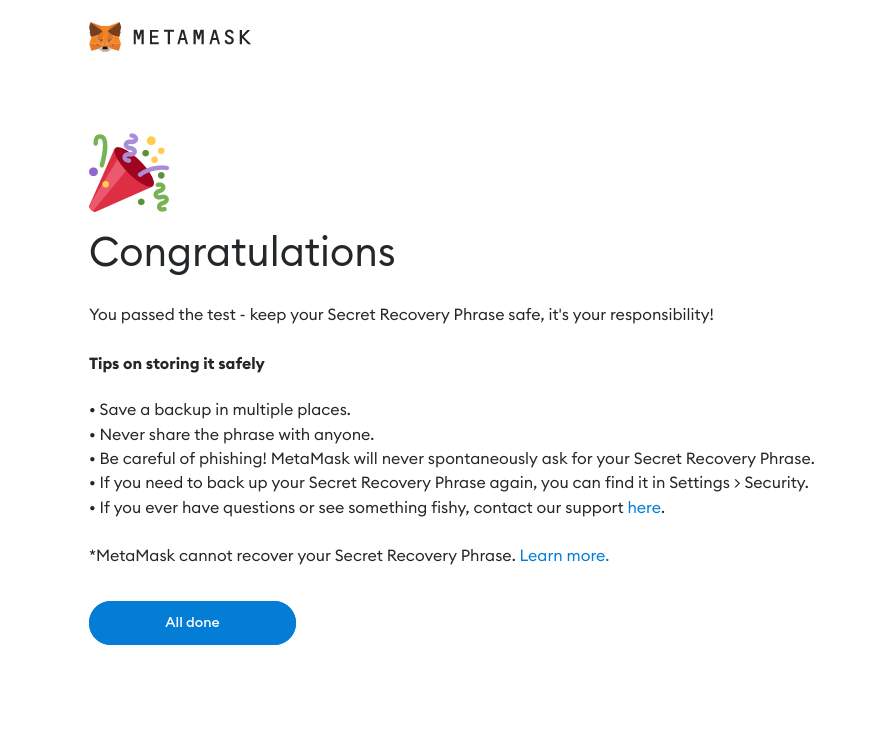
Hit 'Continue' and you'll see the main MetaMask screen. This gives an overview of your 'account' or wallet.
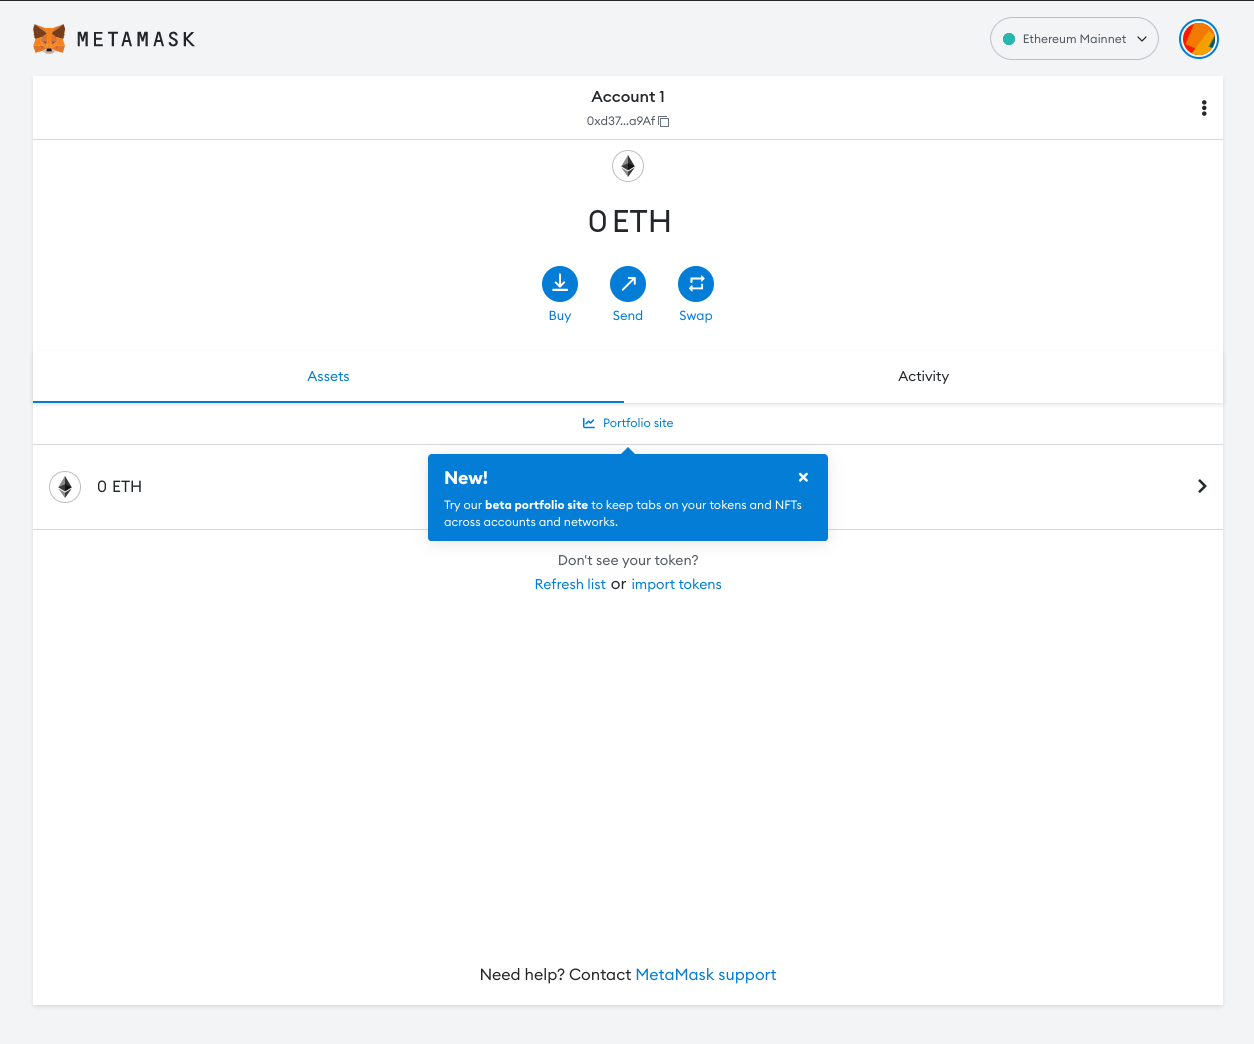
Congratulations! You're now on the path to self sovereignty, financial freedom & a whole universe of dApps; Your wallet can not only be used to store your assets but it will also become your Web3 login & identity across multitude different applications in Web3.
3. Add Polygon support to MetaMask
Now we have a wallet installed, we want to add Polygon support to our MetaMask. This will enable us to interact with apps & perform transactions on Polygon as well as the default network, Ethereum or, Mainnet as it oftentimes called. Polygon is waaaaay cheaper to use than Ethereum Mainnet.
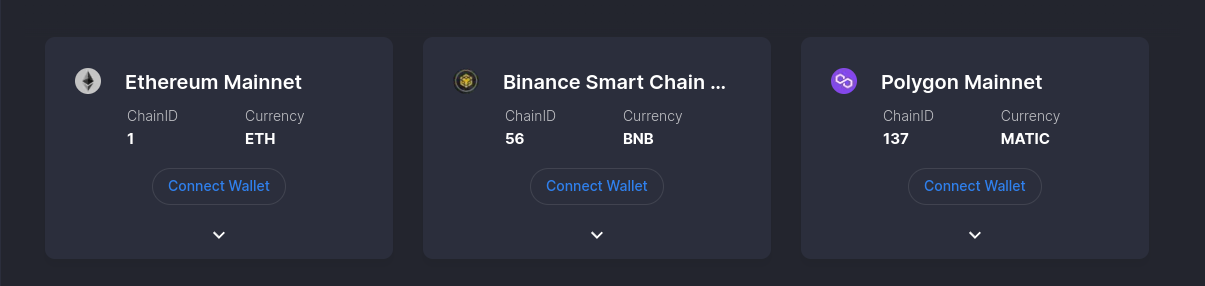
Visit ChainList and look for or search for 'Polygon Mainnet'. You will notice that all the networks have a ChainID and Currency - the currency is the token required for gas on that network.
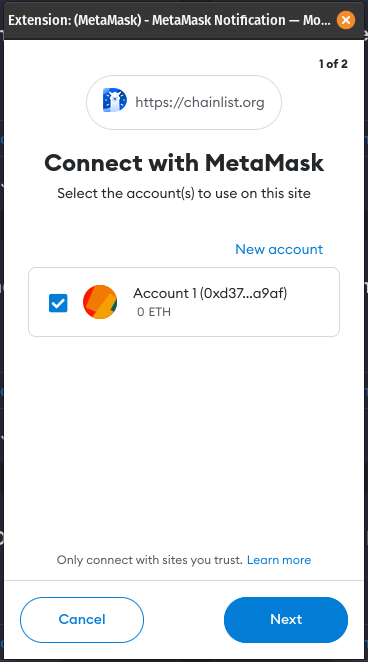
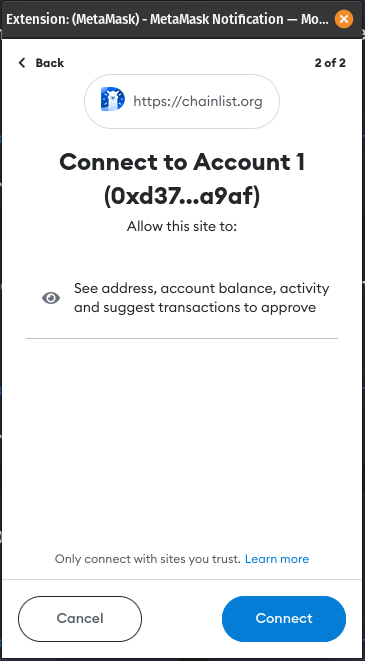
Click 'Connect wallet' to connect - this will open up your MetaMask and ask you to confirm that you're happy for the site to read your account (it does not give any other 'Signer' permissions).
You'll now see your wallet address shown in the top right of the screen and the connect wallet buttons now say 'Add to MetaMask'
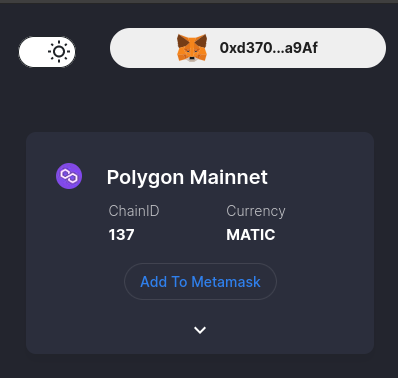
All we need to do now is selct the network to add to MetaMask, then approve the action in MM

Gettin' on the gas
Before you can do anything in Web3, you'll need some gas. Gas is a token that pays for transactions on the blockchain. On Ethereum, Ether or ETH is the native token and is what we use to pay for transactions on the Ethereum network. Similarly, MATIC is the native token for Polygon and thus is used to pay for gas when transacting on Polygon. The next steps will take you through the process of obtaining a small amount of these tokens for free so you can get started.
Fun with a faucet
Now we have Polygon added to our MetaMask, let's use a faucet to obtain a small amount of free tokens to pay gas fees. Of course, you could buy some tokens via MetaMask, using your debit card, or purchase tokens via an exchange and send to MetaMask but that is beyond the scope of this playbook.
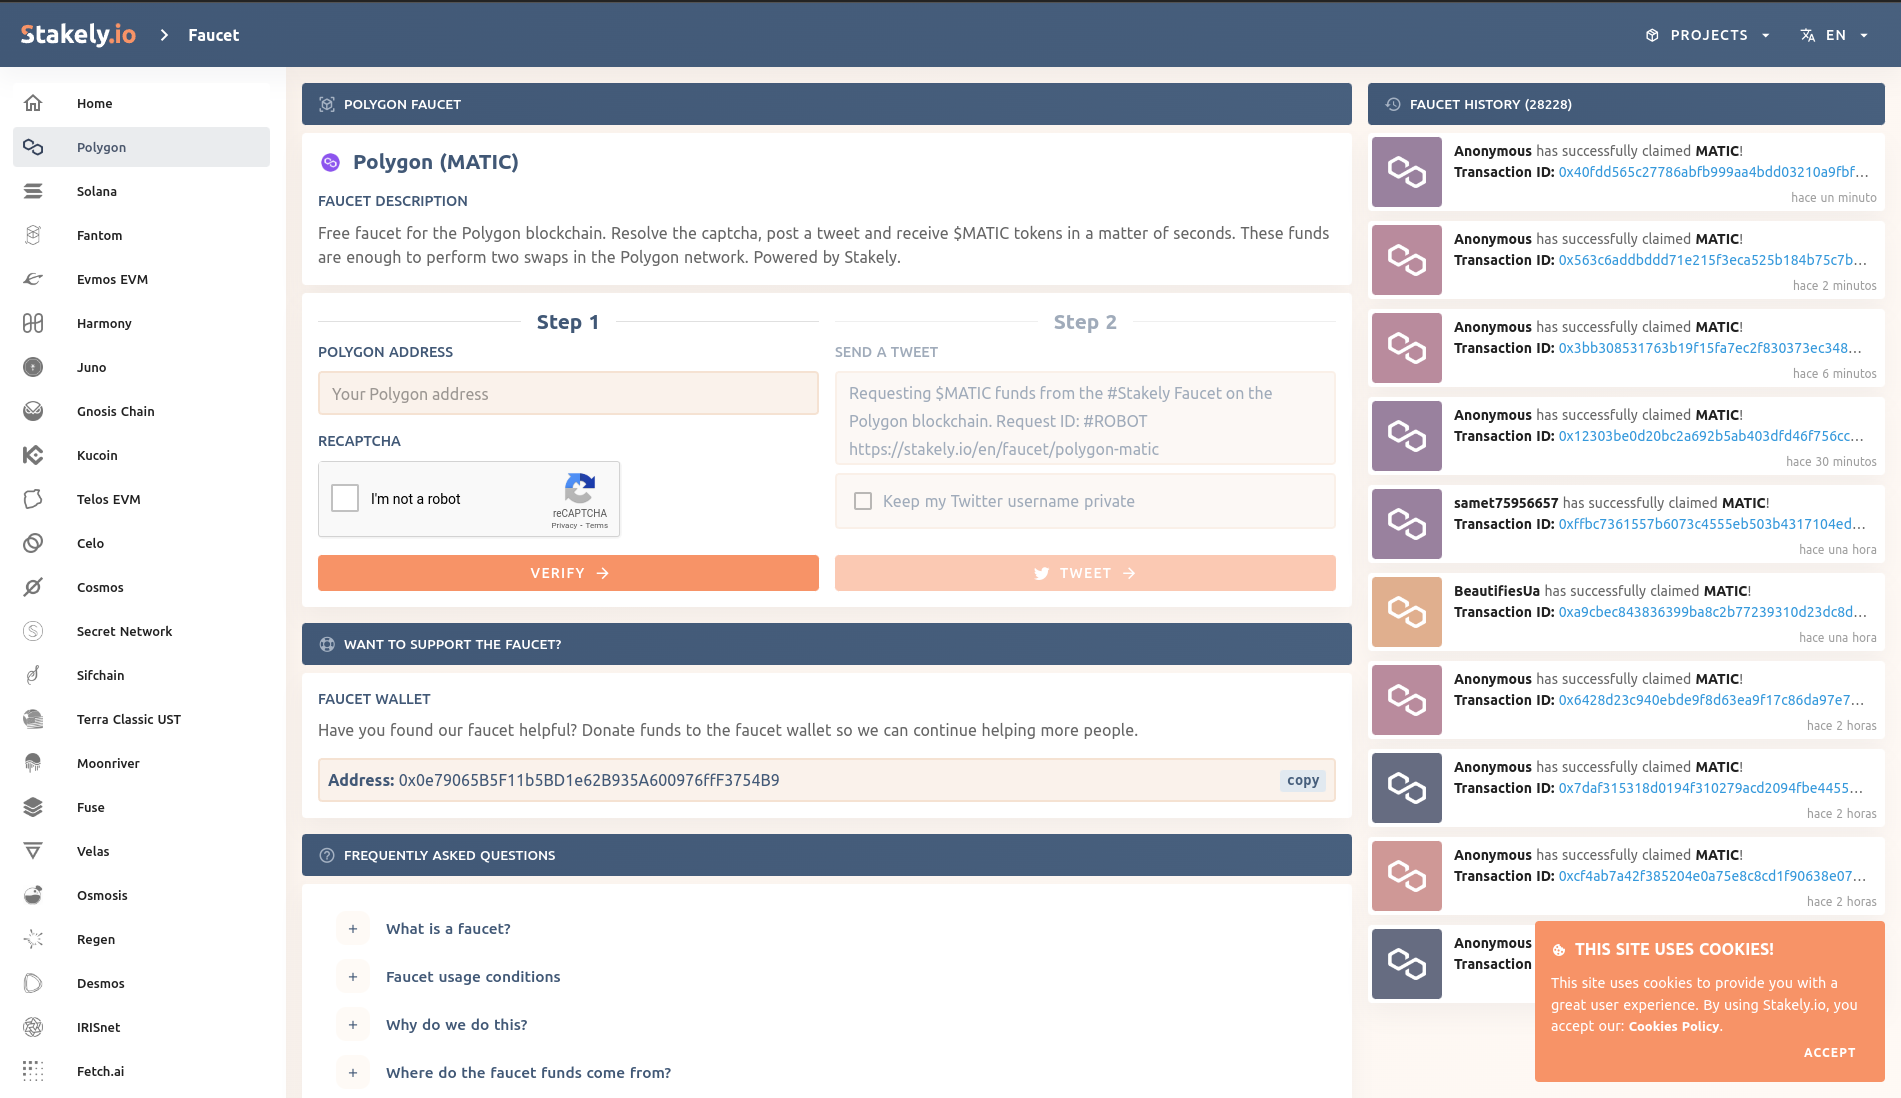
For MATIC tokens on Polygon, head to the Stakely.io Polygon Faucet
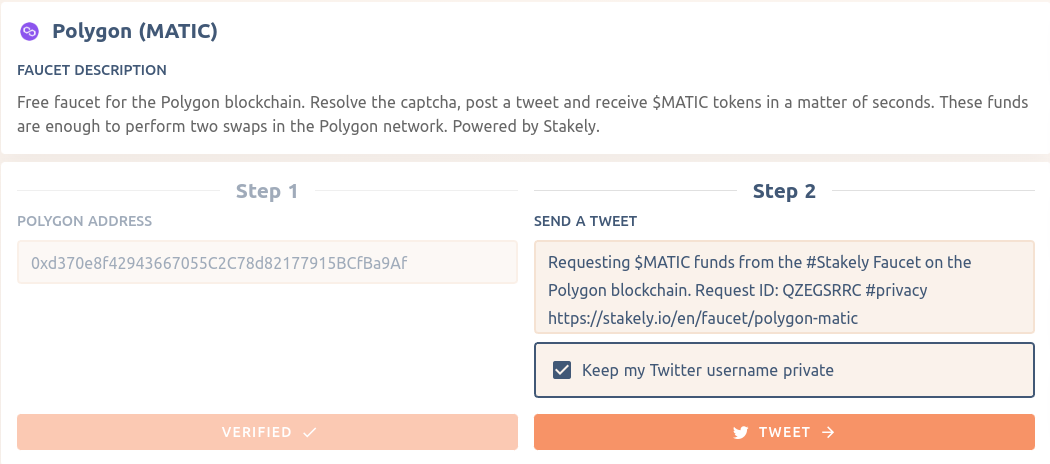
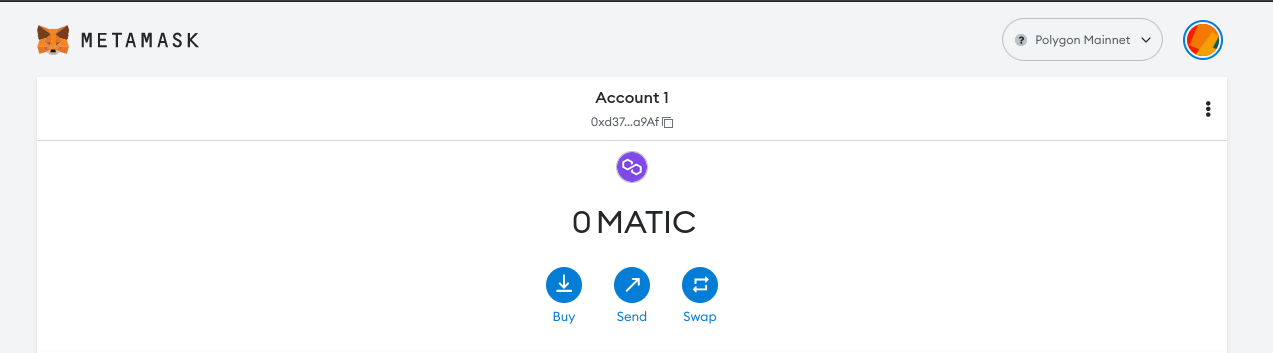
Copy your wallet address from MetaMask by clicking the address under 'Account 1'.

Then paste your wallet address, complete the reCaptcha and click 'Verify'.
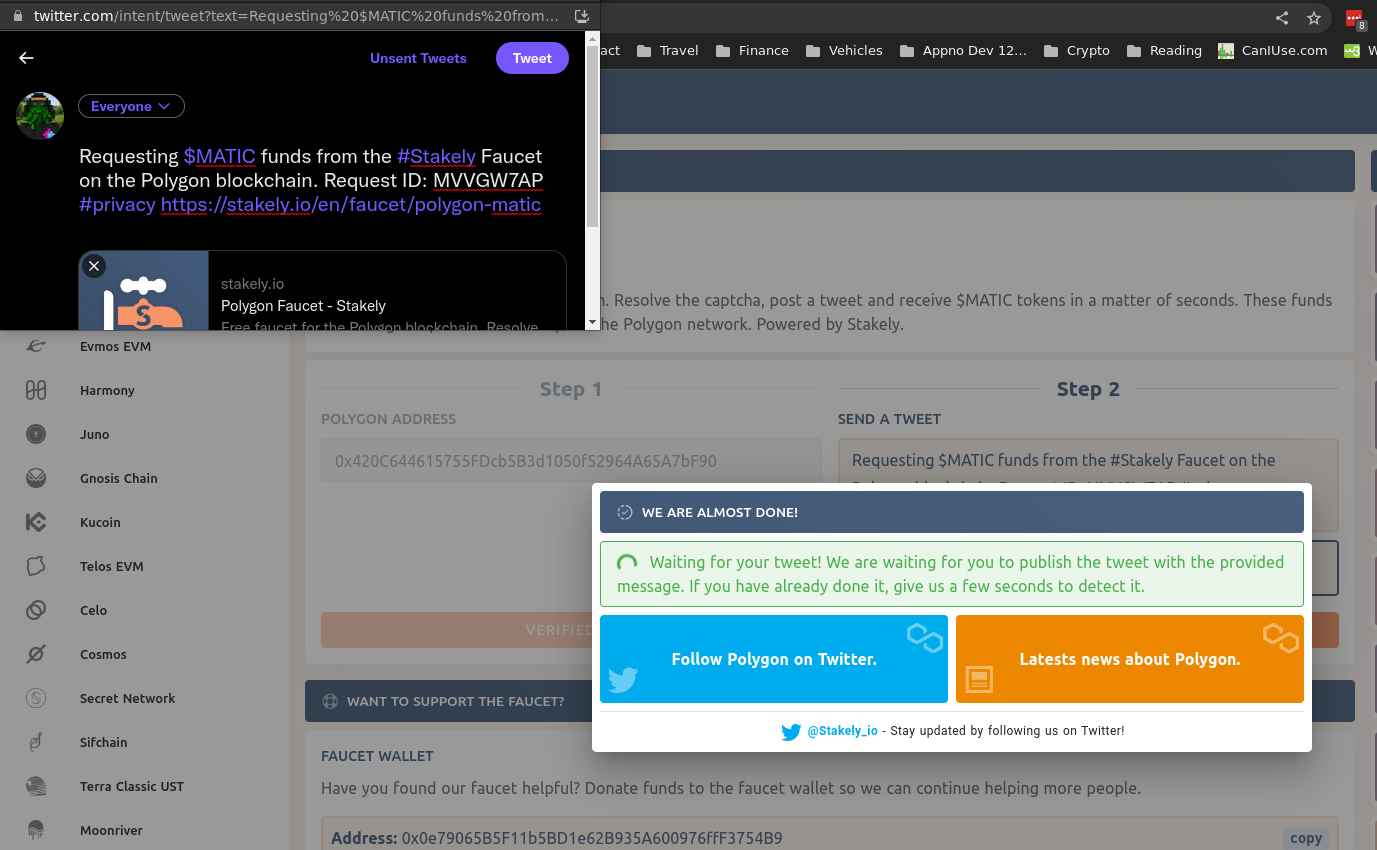
You'll then be asked to make a tweet which helps to prevent mis-use & premature draining of the faucet.
Once you've hit 'Tweet', confirm the Fair Usage popup and follow the instructions.
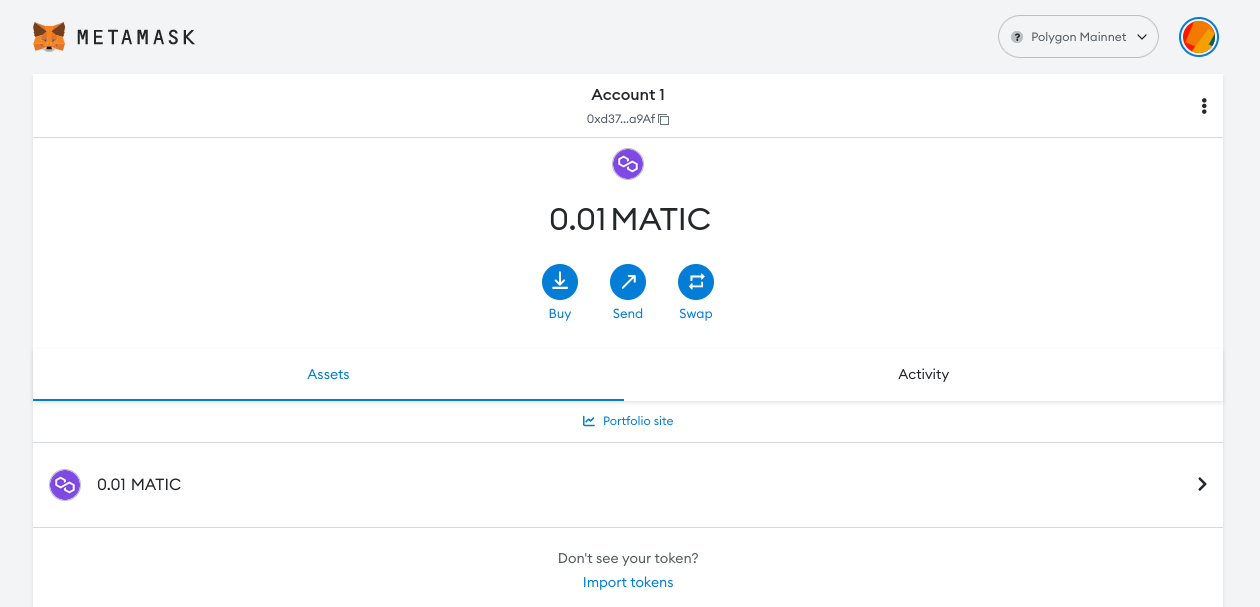
Once you've made your tweet, the faucet verifies your tweet and in a few moments, check your MetaMask account and you'll see your MATIC balance update.
Congratulations, you now have some Matic and could head over to The Onboarding Game and earn your first NFT.